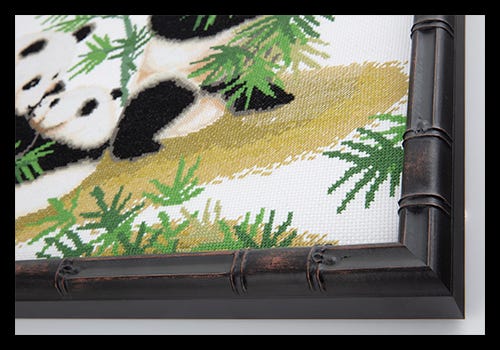
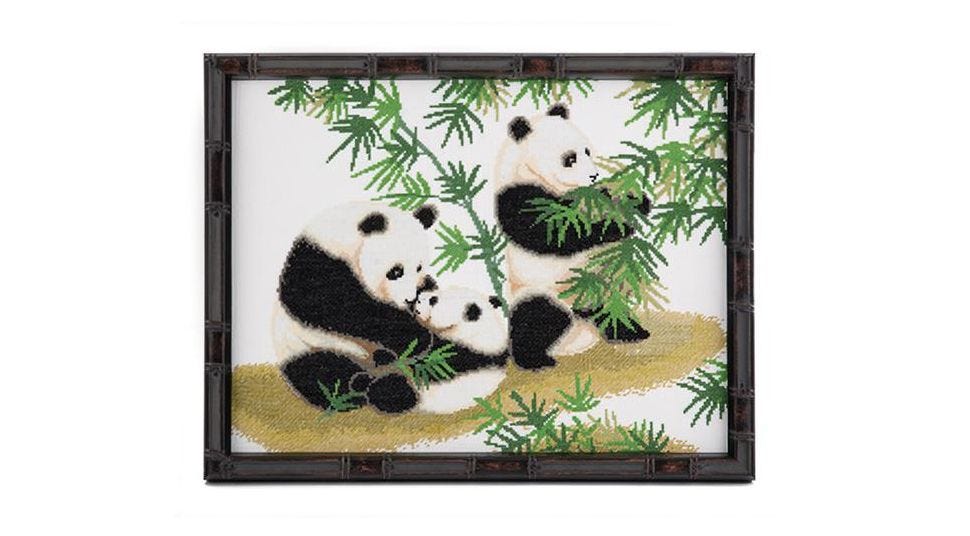
Cross-stitch: You made it great, now frame it best.
It’s the oldest form of embroidery. Since the middle ages, the art of cross-stitch has been practiced all over the world. And judging by the number of completed projects we’ve received recently at American Frame, Covid and the increased time spent at home has spurred growth in the appeal of this already popular art form.
Cross-stitch designs can be traditional or modern, simple or complicated. The art is created by sewing an “x” on a counted placement on fabric with an even and open weave like cotton, linen, or Aida cloth.
Here’s how to frame fabric, including cross-stitch
Framing a picture is one of life’s great pleasures. Displaying a framed work of art you made yourself provides an immense sense of pride.
At American Frame, we love to help.
But first…until it’s time to frame your cross stitch, store it flat or rolled up. Avoid folding it, which will create wrinkles. But if you have them…
Get rid of the wrinkles.
A good ironing might be called for. Here’s the best way to do it: Place your cross-stitch face down on a flat surface, on a terry cloth towel. Set the iron’s heat to the suggested temperature for the fabric of your cross-stitch. Always test your iron on a small, discreet area first. Iron in the direction of the fabric’s weave. This will prevent distortion of the cross-stitch image.
Is your image out of square? Block it.
With a T or an L square, draw squaring lines and a grid on a board. Foam or cork board can be used, as well as plywood. With 70% isopropyl alcohol–it’s a natural fabric relaxer that will also help stretch the fabric without putting undue stress on the stitches–lightly mist the back of your cross stitch. With your art facedown, use rustproof pins or nails to line one side along one of your squaring lines. Stretch the other sides to line them up to the grid. Allow your work to dry completely.
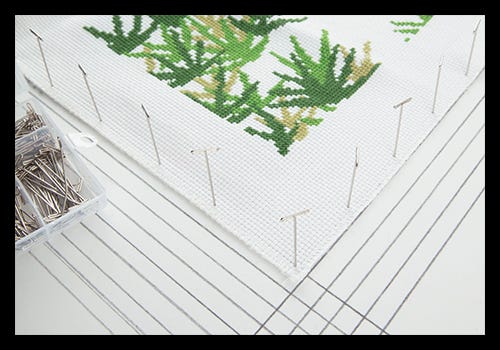

An example of blocking a cross-stitch
Mounting
Once your work is blocked properly, it’s time to mount. We have three favorite mounting techniques. Which technique is best for your project depends on the material composition of your cross-stitch.
1) Dry Mounting
Dry mounting on acid-free, removable foam core gives your cross stitch a look that’s clean, crisp, and wrinkle-free. Dry mounting supports all of the fabric and prevents sagging caused by the long-term effects of gravity, and by stress points in the fabric. At American Frame, we’d dry mount your cross-stitch in a heartbeat. Just say the word.
2) Lacing
Lacing is recommended for cross-stitch pieces with beads or three-dimensional stitches.
To lace:
-
Carefully turn over and fold fabric around the backing board. Use pins to temporarily hold your work in place.
-
Choose a thread similar in strength to what was used in the cross stitch to begin the lacing process.
-
Begin near a corner of the substrate. Lace back and forth (from the longest sides of the piece) ½” to ¾” apart.
-
Before tying off the end, carefully pull the laces tight–starting at the top and working your way down–as you would with the laces on a pair of shoes.
-
Fold over opposite sides
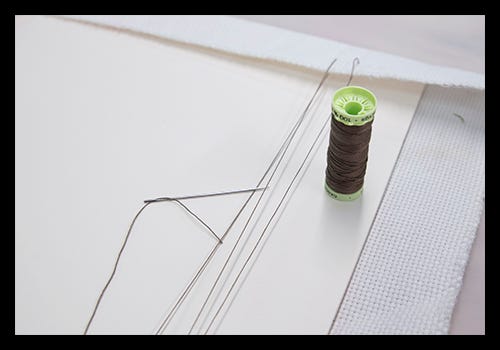

Lacing a cross-stitch
3) Pinning
This is a less time-consuming alternative to lacing.
-
Center your cross stitch over the foam mounting board.
-
Pin the centers of the longest sides first (T-pins are our favorite).
-
Pin the centers of the shortest size.
-
Rotate pinning sides from the centers out to the corner edges.
-
Remove slack by gently stretching the opposite sides.
-
Place pins in between threads, so you don’t split the fibers.
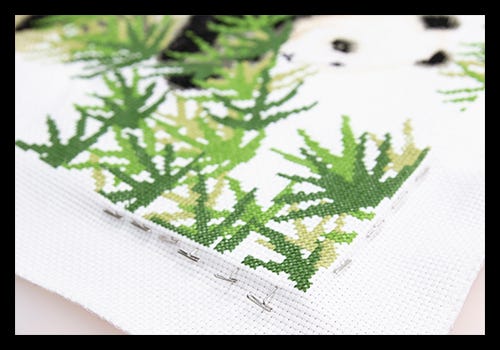

Pinning is a less time-consuming alternative to lacing
Frame Sealing Tape
If you’re framing without a mat board, or if your mounting board is the same size as the rabbet on the inside of your frame, we recommend using our Frame Sealing tape to protect the fabric from the exposed wood inside the frame.
If you’re framing with a mat board mounted on a foam board slightly larger than your mat board window, you’ll need to “sink” your cross-stitch into a surround of foam to support the mat border. You can adhere your mat to the surround of foam with ATG tape (our hand applicable ATG tape or the ATG Gun with tape will work well).
If your cross-stitch fills the inside of your frame, just rest the mat on top. No adhesive is needed. Never tape directly to the fabric.
Glass or acrylic? We strongly recommend…
…acrylic. We strongly recommend covering textiles with acrylic, not glass. Acrylic is shatterproof. Glass is not. If it should break, glass can scratch or tear your art. Acrylic is acid-free and prevents 99% of harmful UV rays that can discolor your work over time.
To apply your acrylic:
Remove the protective paper from the back of the acrylic and place on top of the artwork. Then, peel the paper from the remaining side. Be careful not to lift the acrylic from the “art stack”–your art, mat board, mounting board–to avoid dust from getting trapped between the artwork and acrylic.
Place the “art stack” into the frame. Secure the back with the spring clips provided, or with a point driver (one of our very favorite picture framing tools).
We love to help our customers with all of their custom picture framing projects. We can’t wait to see your work.
