Your “great wall”: How to create a gallery wall
So, What is a Gallery Wall Anyway?
Have you ever stepped into your artistic friend’s space and marveled at their collection of framed art? Pieces arranged in such a way that you not only appreciate the art presented beautifully but you come away with a better sense and understanding of their experiences by this gorgeous presentation. It's amazing, but it's not only taught to the chosen few. It's achievable and with a few techniques and some planning you can make your own gallery wall, in your space that fits your vision.
But first a little history...
The concept of a gallery wall began in European aristocratic homes and royal palaces, where paintings, tapestries, and portraits were displayed in dense, floor-to-ceiling arrangements. This style, known as salon-style hanging, originated in France and was used to showcase a family's wealth and taste. Let's demystify this classic style of hanging multiple pieces and fast forward it a few centuries to apply it to your space.

Where to Start!?
You have committed to the idea of a gallery wall. You have cleared the idea of putting several holes in walls with the respective powers that be and now it's time to have fun and throw everything up in random order and it all works perfectly, right? Unfortunately, wrong. You will find plenty of examples on social media feeds of effortless gallery walls but what influencers might gloss over is showing the planning that goes into gallery walls. Truthfully there are classic mistakes to be made but knowing them can help you easily avoid them.
Some Don'ts
- Irregular spacing between your pieces can make the display seem sloppy and hap-hazard.
- Too Much – You might be tempted to throw everything you’ve got at this project, but it pays to be deliberate. It’s easy to get carried away and overcrowd the space, which can make the arrangement feel cluttered rather than curated.
- No Direction – ‘If you fail to plan you plan to fail’ as the saying goes. We get it, it's tempting to jump right in, however you are likely missing out on the opportunity to play around and get it just right. Taking some time in the beginning is worth it. We want to enjoy this for years to come so the time to plan is well worth it.
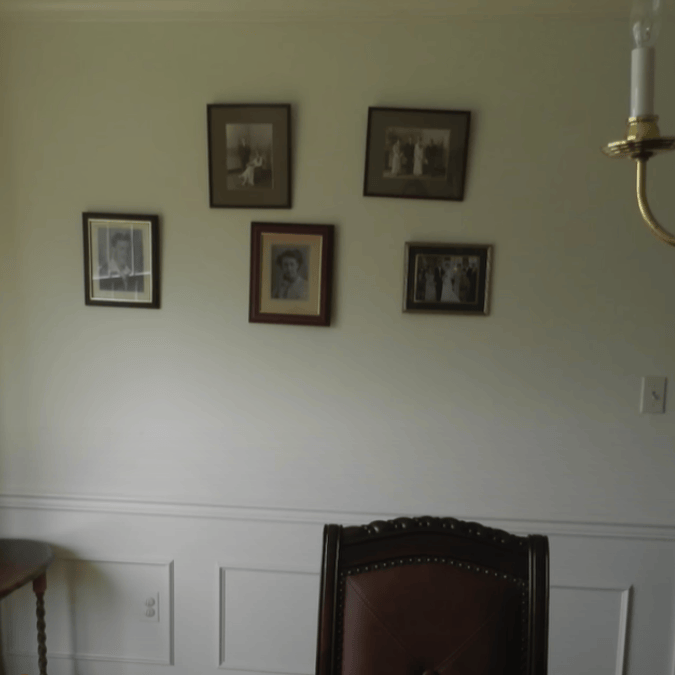
Example of a gallery wall with irregular spacing.
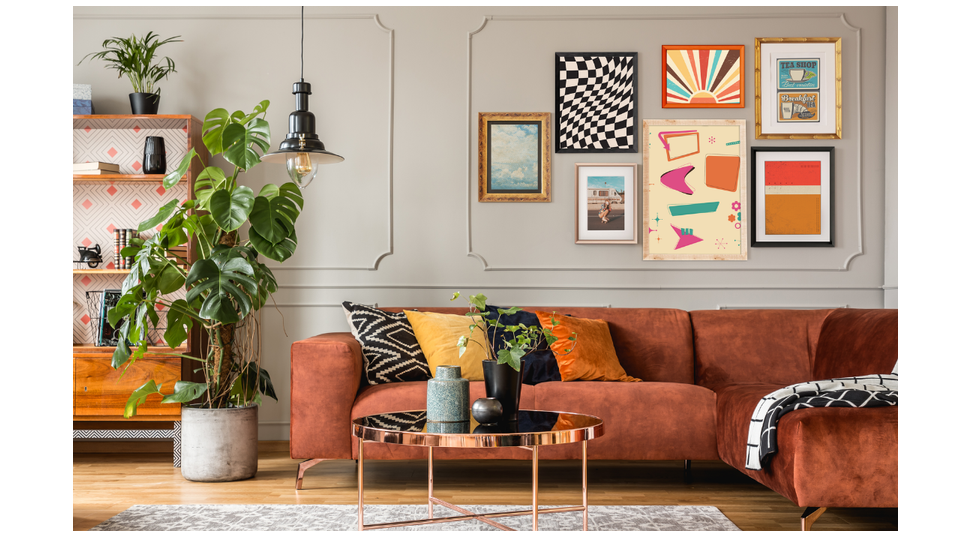
Begin With a Theme
Start your gallery wall by taking stock of what you have and visualizing what kind of story you want to tell. Lay your art down on the floor or a large table to get a look at everything all at once. Black and white photography, family vacation adventures, your own artwork, whatever it may be – pick a theme and let it guide your decisions.

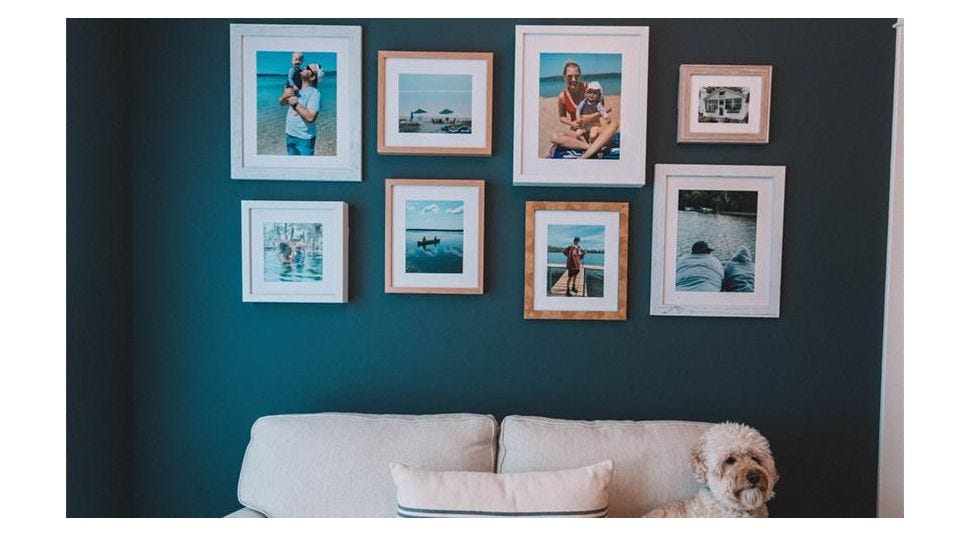
Shown above is a great collection of adventure photography.
Materials
It can be helpful to have a few simple tools to ensure your vision comes to life. Here are some tools to get the job done:
- Measuring tape
- Painter’s tape
- Level
- Pencil
- Craft paper
Let us Play
Mapping out your gallery wall should be an iterative process, you are not going to nail it on your first attempt, and that's ok. To avoid lots of work (and wall repairs) play around with the arrangement of your art. Here are some helpful ideas:
- Take measurements of all of your art and the space it will occupy. This is a step that takes time, but you will save a ton of time in the long run.
- Move around pieces on your floor to begin to get a feel of how they work together.
- Cut out pieces of craft paper the size of your art and use painters' tape to place them on the wall and rearrange without fear of wall damage.
- Alternatively use graph paper to be precise in spacing your arrangement out.
- Position pieces vertically or horizontally depending on how it flows
- Basic shapes such as diamonds, rectangles, and ovals can help guide the layout while providing a striking look to the arrangement.
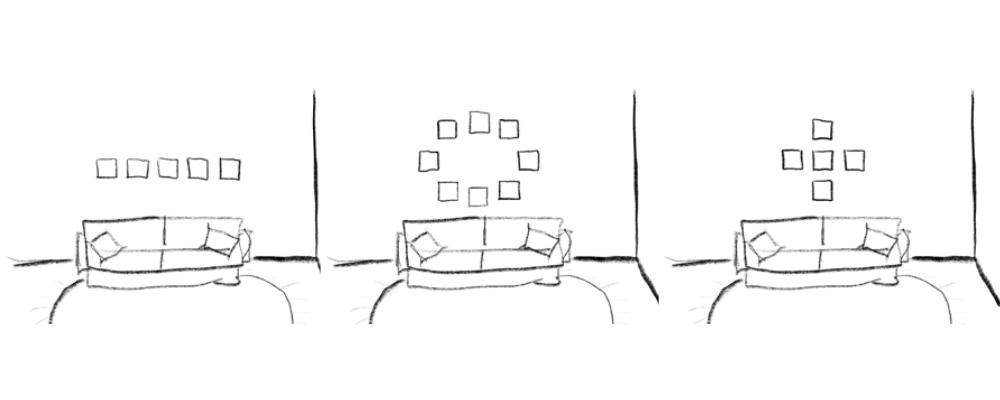
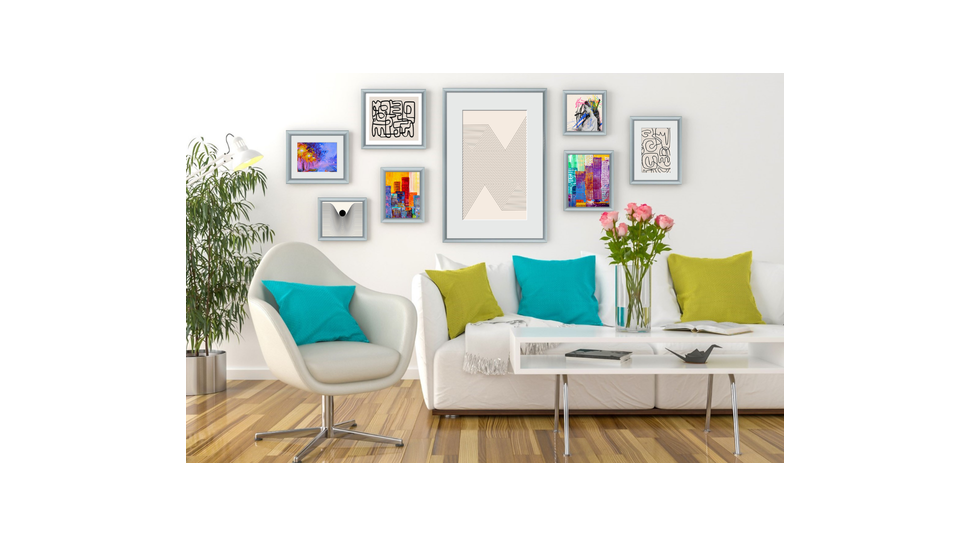
Find the Center & Work Outward
Start with the centerpiece of your gallery wall and build around it. Measure equal spacing between frames (typically 2–3 inches) for a balanced look. You can take spacing further out for a more dramatic feel. Consistency in your spacing is key.
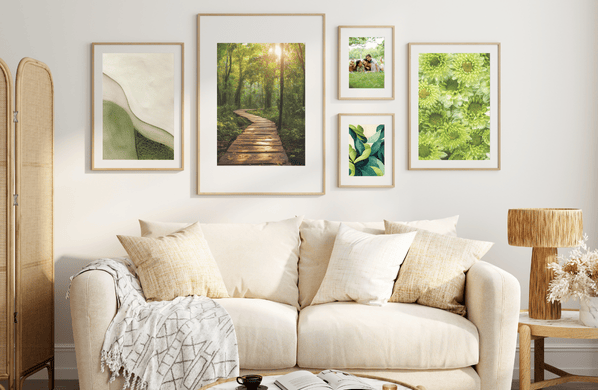
Consider the Surroundings
The arrangement should complement, not compete with, key elements like sofas, beds, or shelving. Aligning the gallery with furniture edges or centering it above a focal piece helps create balance and harmony. Keeping proportions in mind ensures the wall feels like an intentional part of the room rather than an afterthought.
Keep it in Sight
Hanging a gallery wall too high can make it feel disconnected from the rest of the space and strain the viewer’s eye. Artwork should be at eye level—typically around 57–60 inches from the floor to the center of the arrangement—to create a natural, cohesive look. If placed too high, the pieces may feel awkwardly floating rather than integrated into the room’s design. Keeping the gallery at a comfortable viewing height ensures it feels inviting and visually balanced.
Mark and Measure for Hanging Hardware
Use a pencil to mark where the nail or hook should go based on the hanging mechanism of each frame. If a frame has a wire, pull it taught to find where it naturally hangs.
Step Back & Adjust
Once everything is up, step back and assess the overall look. Use your level to ensure everything is plumb and even. Make any final tweaks to spacing or alignment to ensure a cohesive display.
You’ve Done It
Creating your own gallery wall is a deeply satisfying experience because it’s a reflection of your personality, style, and memories. Every piece you choose—whether it’s art, photos, or meaningful objects—tells a story and turns your space into something uniquely yours. The process of arranging and hanging each frame brings a sense of accomplishment, transforming a blank wall into a visually striking and personal statement. In the end, it’s more than just decoration—it’s a curated expression of who you are.
Start framing your story today with American Frame! Our team of experts are here to provide help along the way to bring your vision to life with custom frames to bring your gallery wall to life. Connect with us today.