1000 pieces = one work of art: Framing your puzzle
The key ingredient in building a puzzle? Time.
The key element required to show off your accomplishment? The right frame.
Here, we tell you how to frame a puzzle.
But first, a question: Where can you get your puzzle frame?
Answer: Light years beyond the shadow of a doubt, the best place to get the perfect frame for your puzzle is AmericanFrame.com. (NOTE: We may be partial.)


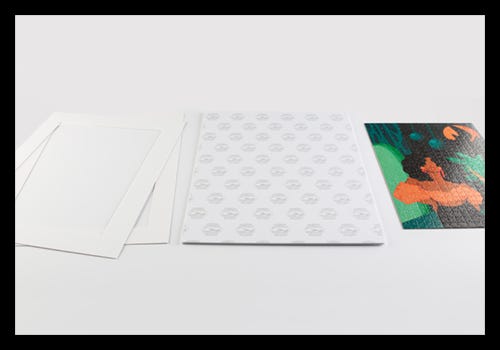
Materials needed to frame your puzzle: finished puzzle, self-adhesive mounting board, centering template and mat board (if you want a mat).
Here’s how to proceed getting your puzzle framing done through American Frame:
Step 1: Hold it still
Before you do anything, brush a thin coat of clear drying craft or puzzle glue on the face of your puzzle to hold everything together.
Step 2: Select a frame
We give you tons of good choices. Wood picture frames, metal picture frames, even wood frames that look like they’re made of gold or silver. Our easy-to-navigate website makes it easy to decide which frame would show off your puzzle best.
Step 3: Figure out your dimensions
Once you select your frame, our ordering process asks for “art size.” In this case, measure the outside dimensions of your puzzle. That is your “art size.”
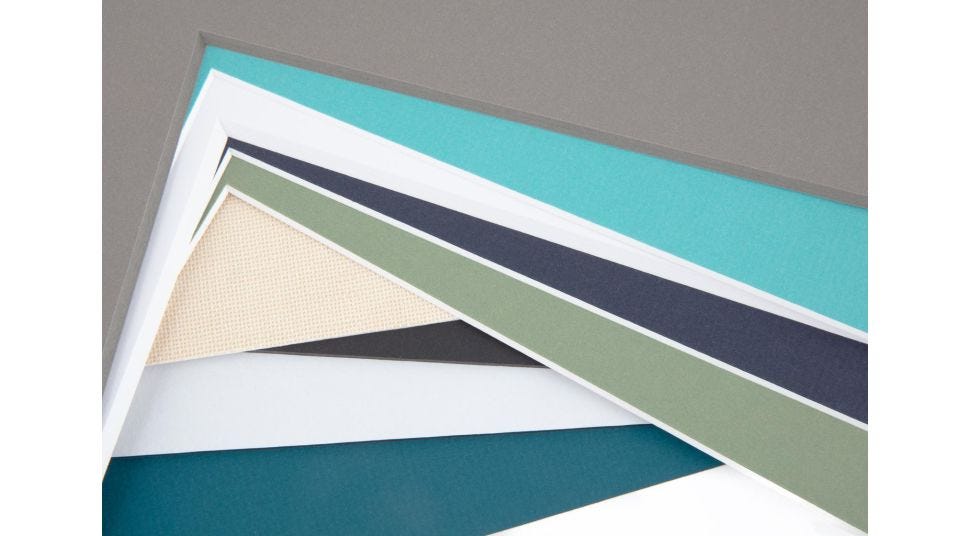
Then, select your mat board and type of acrylic glazing.
For your mounting board, select “self-adhesive board.”
Step 4: Order your centering template
In a separate transaction, you’ll need to order a second mat board, which will serve as a centering template. This second mat board won’t be visible once your puzzle is framed, so it can be any type of mat board in any color. The outside dimensions of this mat will be the same size as your self-adhesive board, but the inside dimensions should be 1/8” longer in BOTH width and height than the length and width of your puzzle.
When ordering on American Frame, you’ll need to provide the outside dimension and borders of this mat board. Our system will then calculate the window opening based on those dimensions.
So…
…to calculate the side borders:
Measure the outside width of the mat board. Subtract the width of the opening. Then, divide by 2.
…to calculate the top and bottom borders:
Measure the outside height of the mat board. Subtract the height of the opening. Then divide by 2.
For example:
Your self-adhesive board is 16” wide x 20” high. The template should be the same size. The puzzle is 12” wide x 16” high, so the window opening of the template should be 12 1/8” x 16 1/8”.
Side borders: 16” – 12.125” = 3.875” then 3.875” divided by 2 = 1.9375”.
Side borders that are 1 15/16” should be ordered.
Top and Bottom borders: 20-16.125 = 3.875” then 3.875”/2 = 1.9375”
Top and bottom borders that are also 1 15/16” should be ordered.
There, your order is finished.


Peeling the protective coating off the self-adhesive board.


Attaching the centering template to the foam board.
Yippee. Your American Frame shipment has arrived. Here’s how to proceed:
- Peel the protective coating off your foam board.
- Adhere the centering template to the foam board.
- Center your sealed puzzle within the template window. Apply pressure so that the puzzle adheres properly to the foam board.
- Place your mat board on top of the puzzle and template window. Secure it with double sided tape. Notice how the bevel covers the edges of your puzzle, for a clean, neat look.
- Once your puzzle is mounted, peel the protective cover off your acrylic. Insert the stack (board, puzzle, mat boards, and acrylic) into your frame.
If you’re not using a mat board, you won’t need a centering template. The self-adhesive board, frame, and acrylic will all be the same size as your finished puzzle. Simply adhere the puzzle to the self-adhesive board, and continue building your frame.


