How to Use Spacers in Your Frame for Added Protection & Dimension
How to Cut Spacers for Picture Framing
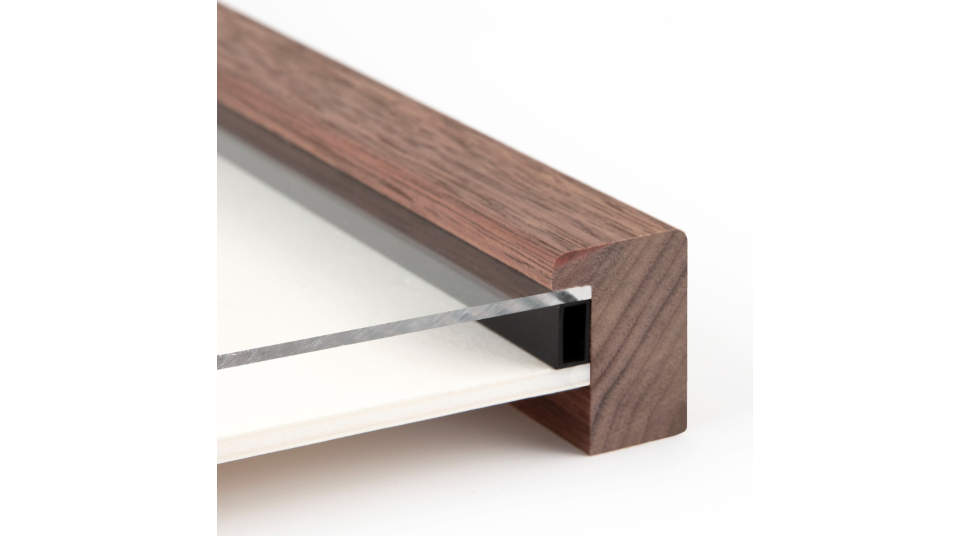
Spacers add dimension to your artwork by creating a subtle separation within the frame. This simple addition can make your artwork stand out, highlighting the depth of the piece. Here’s a straightforward guide to cutting spacers for your custom frame.
Gather Your Tools
To cut spacers, you’ll need a few basic tools: a ruler, a sharp utility knife or cutter, and your spacers. A cutting mat can also be helpful for precision and protection. Getting organized before you start will make the process smoother.

Measure Twice, Cut Once
Start by measuring the inner perimeter of your frame. Precision here is key for a clean, professional result. Each spacer segment will line up with the edges of the frame, creating that subtle boundary around your artwork.
Mark Your Spacer Lengths
Using your measurements, mark the exact lengths on each spacer. A light pencil mark offers a guide without damaging the spacer material. This step ensures each cut will align well with your frame’s dimensions, reducing the need for adjustments later.

Make the Cuts
With your utility knife, carefully cut each spacer along the marked line. Work slowly to avoid cracking or uneven edges. A cutting mat can keep your cuts steady, helping each piece fit seamlessly within the frame.

Attach the Spacers to the Frame
Once cut, attach the spacers directly to the frame’s inner edge, using adhesive if necessary to keep them in place. When properly cut, spacers should sit securely without shifting, giving your piece a polished, dimensional finish.

By following these steps, you can easily add spacers to your frames, elevating your artwork with a professional touch.
If you have any questions or need further assistance, you can always ask our knowledgeable in-house framing experts.. They are well-versed in framing techniques and can provide valuable insights and guidance to ensure your artwork is properly protected and beautifully displayed.