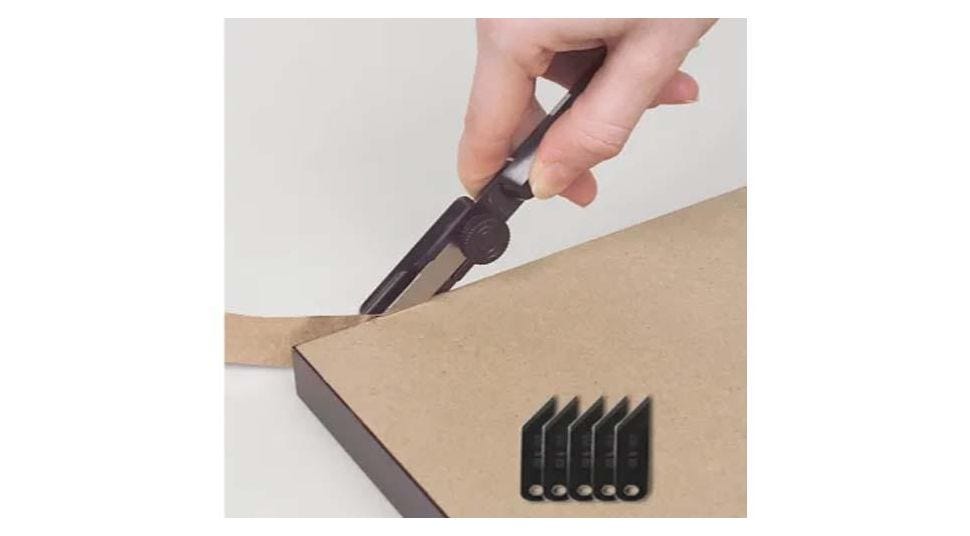
Dust covers: Keeping It Clean Behind The Scenes

Out of sight, yes, but not out of mind. We think the dust cover – a sheet of paper covering the back of a custom wood picture frame – is an important finishing touch to a complete and thorough frame package. It prevents bugs, dust, and other debris from getting where they shouldn’t be, which is anywhere near your artwork.
Dust covers also help stabilize the level of humidity inside a wood frame, which can be adversely affected by moisture.
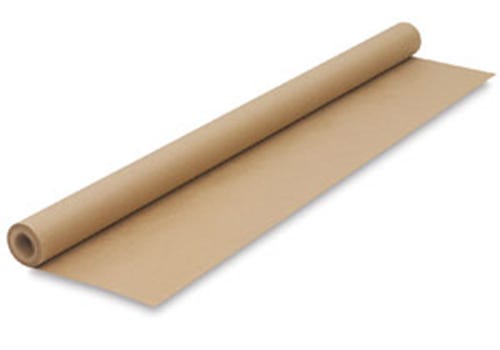

The most common material used for non-conservation dust covers? Kraft paper.
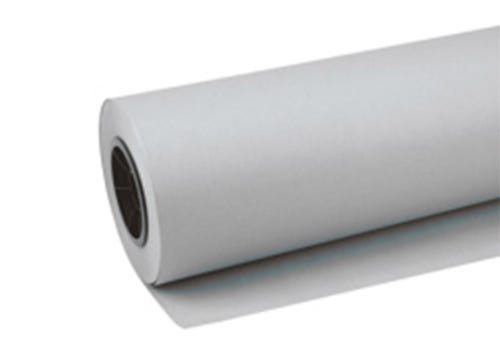
And for archival framing? We recommend acid-free backing paper because: 1) it’s been buffered with a protective compound to help protect and preserve the artwork; and 2) it allows the frame package to breathe.

Here’s how you do it.
To attach a dust cover to a wood frame, you’ll need:
dust cover paper
adhesive tape, preferably ATG transfer tape
a precision knife or dust cover trimmer


-
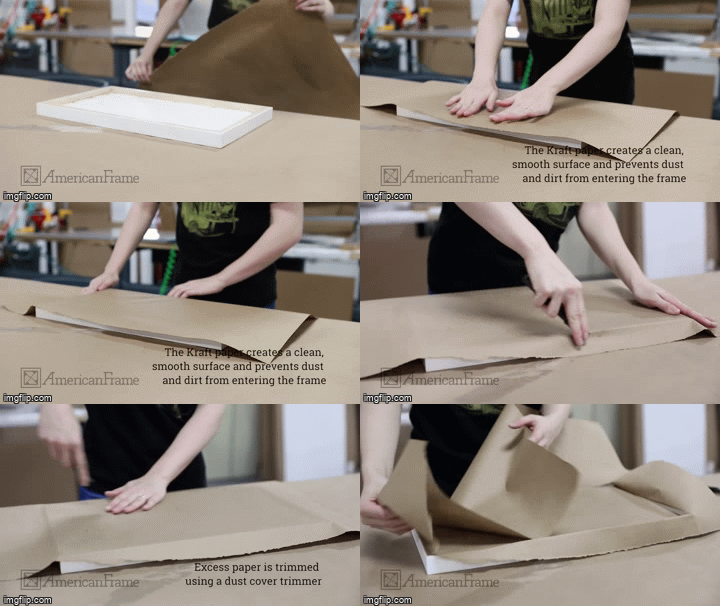
Cut a piece of dust cover paper slightly larger on all four sides than the frame.
-
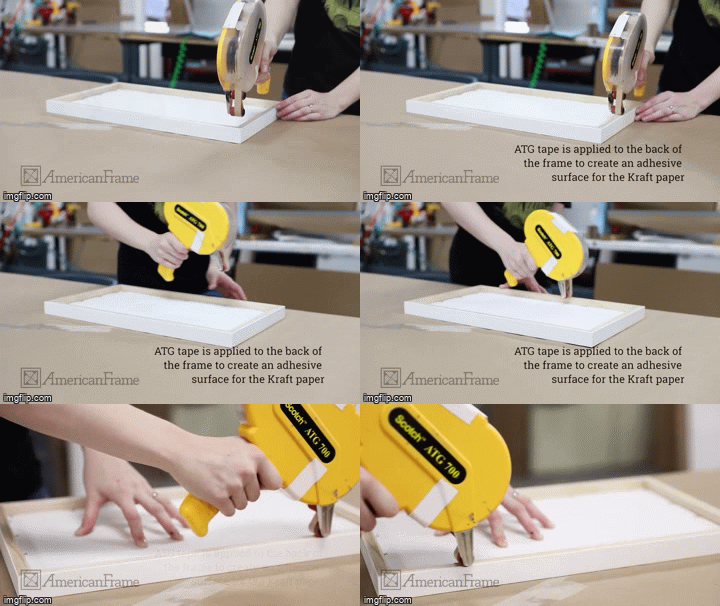
Away from the dust cover paper, place your frame face down on a flat surface. Apply tape on the entirety of all four sides of the back of the frame.
-
Place your cut piece of dust cover paper on a flat surface.
-
Place your frame face up on the piece of dust cover paper and press it firmly in place, making sure the paper adheres to the adhesive tape.
-
Turn the frame over on the flat surface. Carefully cut away the excess paper with your precision knife or dust cover trimmer.
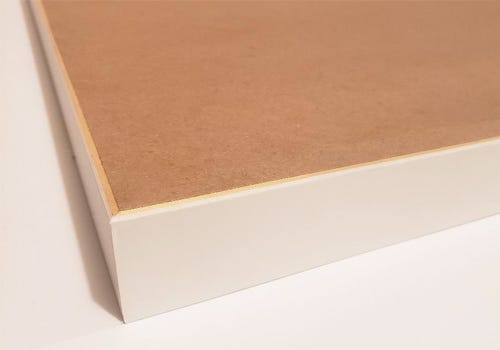

There. Your artwork is protected.
Questions? Contact one of our framing experts for answers. Whether you need to know how to frame a picture or want to know more about dust cover materials, they’ve got the answers and the info.


