Continuing its commitment to market leadership and unparalleled service, American Frame proudly announces the launch of Same-Day Shipping for custom frame orders. This enhancement underscores the company’s dedication to meeting customer needs promptly and efficiently.
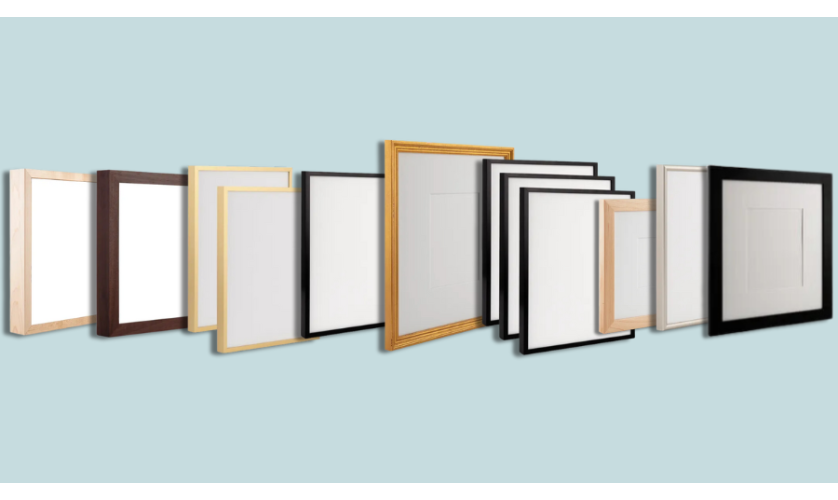
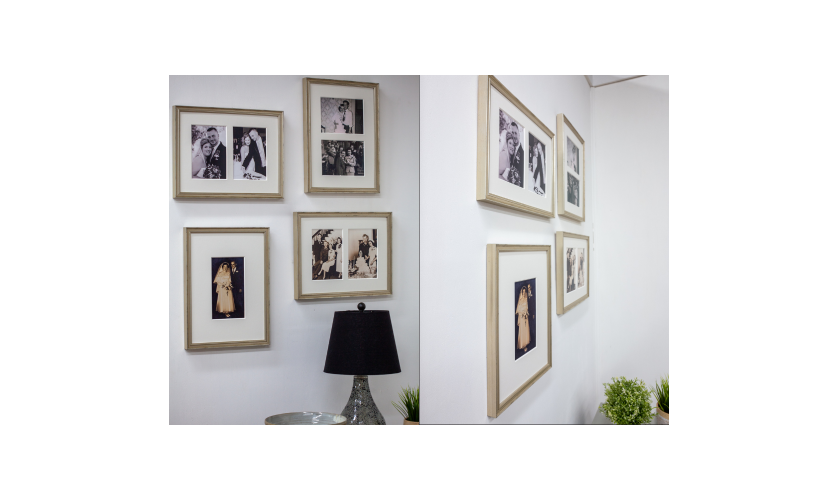
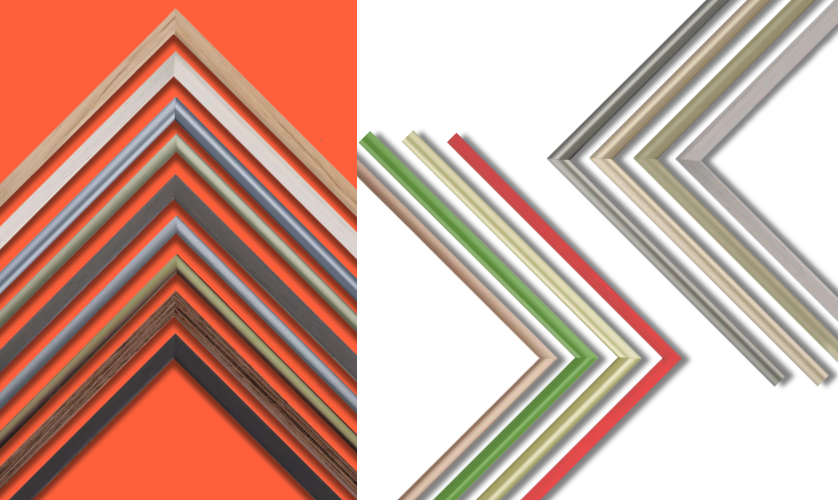
As an artist, you’re often simultaneously a visionary, a promoter, a marketer, a social media influencer, a traveler, a dreamer, and so much more. It may be time to add “custom framer” to your long list of titles.
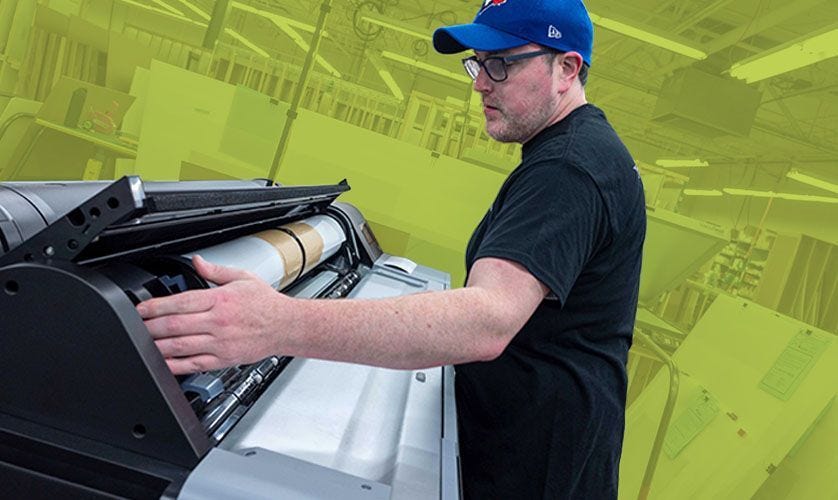
With so many paper styles and finishes available for your prints, it can be hard to know which option will help achieve the look you’re envisioning. At American Frame, we help make the decision easier by offering only the highest-quality, industry-leading brands and products.